Monday, July 29, 2013

Baking bread the easy way

Bread.....

This is my lunch dish for today/
A nice whole wheat bread, some cream cheese and cured salmon.


Today,
we can start with the bread.
The quantities are for 2 - 4 people. Personally I split it into two parts have one part the same day
the other part goes in the fridge and I either make it the next day or use it for pizza.

So.
1.5 teaspoons of dry yeast
1 cup of warm water - simply slightly hot water on your hand it should not burn you just
feel nice and warm, then reach the 1 cup.
1 table spoon of honey.

That is it.
Take all three and mix them in a bowl.


After 10 minutes they will bubble


If they don't bubble, that means they are faulty or your water is too cold.
Test to see the water is warmish and add a little sugar.
If you wait another 10 minutes and nothing happens throw it out and get another manufacturer.
My "red" yeast failed, so I just bought Fleischman which works fine.
I also made my own, but that is another blog.

So the yeast is bubbling.
Add
1 teaspoon of salt
1 tablespoon of oil
1 tablespoon of wheat germ - if you don't have this, you can skip it.
1 cup of whole wheat flour - if you don't have any just use regular wheat.
1/4 of a cup of milk - if you don't have it just use water

So

the above are what you add.


mixy mix 200 times.
See how it has a nice consistency.
Now just add flour 1/2 cup at a time.
As you can see slowly
it becomes more solid

add another 1/2 cup

It will slowly get to be harder to move
your wood spatula or spoon around and the dough will slowly stop clinging to the bowl.
however it can be draining on the arm.
So simply leave it for a few minutes and then get back to it.
So, the more you mix at this stage the less you have to knead.
Anyway a little more flour and it should come off.
simply flour a board.
Put some flour on the bread and start kneading.
I can't photograph and knead at the same time.
This is a nice video.
https://www.youtube.com/watch?v=n7jBrDWJOds
I use the third one mainly, the first is too noisy.
the dough should be sticky but not stick if it sticks add a little flour.
Keep going, if you get tired take a break, when you come back it will have blown up slightly because
of the yeast working.
Okay, after 10-15 minutes stop.
Stick your finger in the dough and when you take it out the dough should puff slowly back up to fill the hole.
If it is pretty quick you should be set or just count the 15 minutes.

Now.


This is how the dough started, 5 inches across.
I just threw some flour on the top and covered it with a rag.

If you don't flour the top, the rag will stick. So flour it nicely.

The dough will expand slowly.
1 hour - 2 hours it all depends on how warm it is.
If your house is freezing cold and you live in novosibirsk, then simply place it closer to a source of heat.
If your house is as hot as hades because you live in Israel and can't afford the AC, then put it in your coolest
spot.
Anyway,.
After X time  1-2 hours, you can peek.


Notice the lovely expansion.
from 2-10 inches  see 8 inches now.


Okay, punch it down.
Yes all the air will go out.


after that leave it again for 1 hour.


After the second rise you can punch it down again and shape it into the shape you want


In my case I wanted a loaf.
You can use a pyrex like I did.
If you use a Pyrex you can look at the dough on the bottom and see it expanding.
Anyway,

So first rise was 1-2 hours
second rise was 1 hour
third rise is 30 minutes.
The reason is that by now the yeast have improved their game and are more efficient.
Once the 30 minutes elapse you can throw it in the oven.

You can also check manually,

Stick your clean finger in the dough, it should make a hole
when you remove your finger the hole won't fill in. {this is the opposite of the kneading where we wanted it to fill in}
The reason is that by now the structure of the dough is such that there are a lot of air pockets.
So the structure is brittle.
If you leave it now for 10 minutes it will start filling up. As opposed to 1-2 minutes when we were kneading.
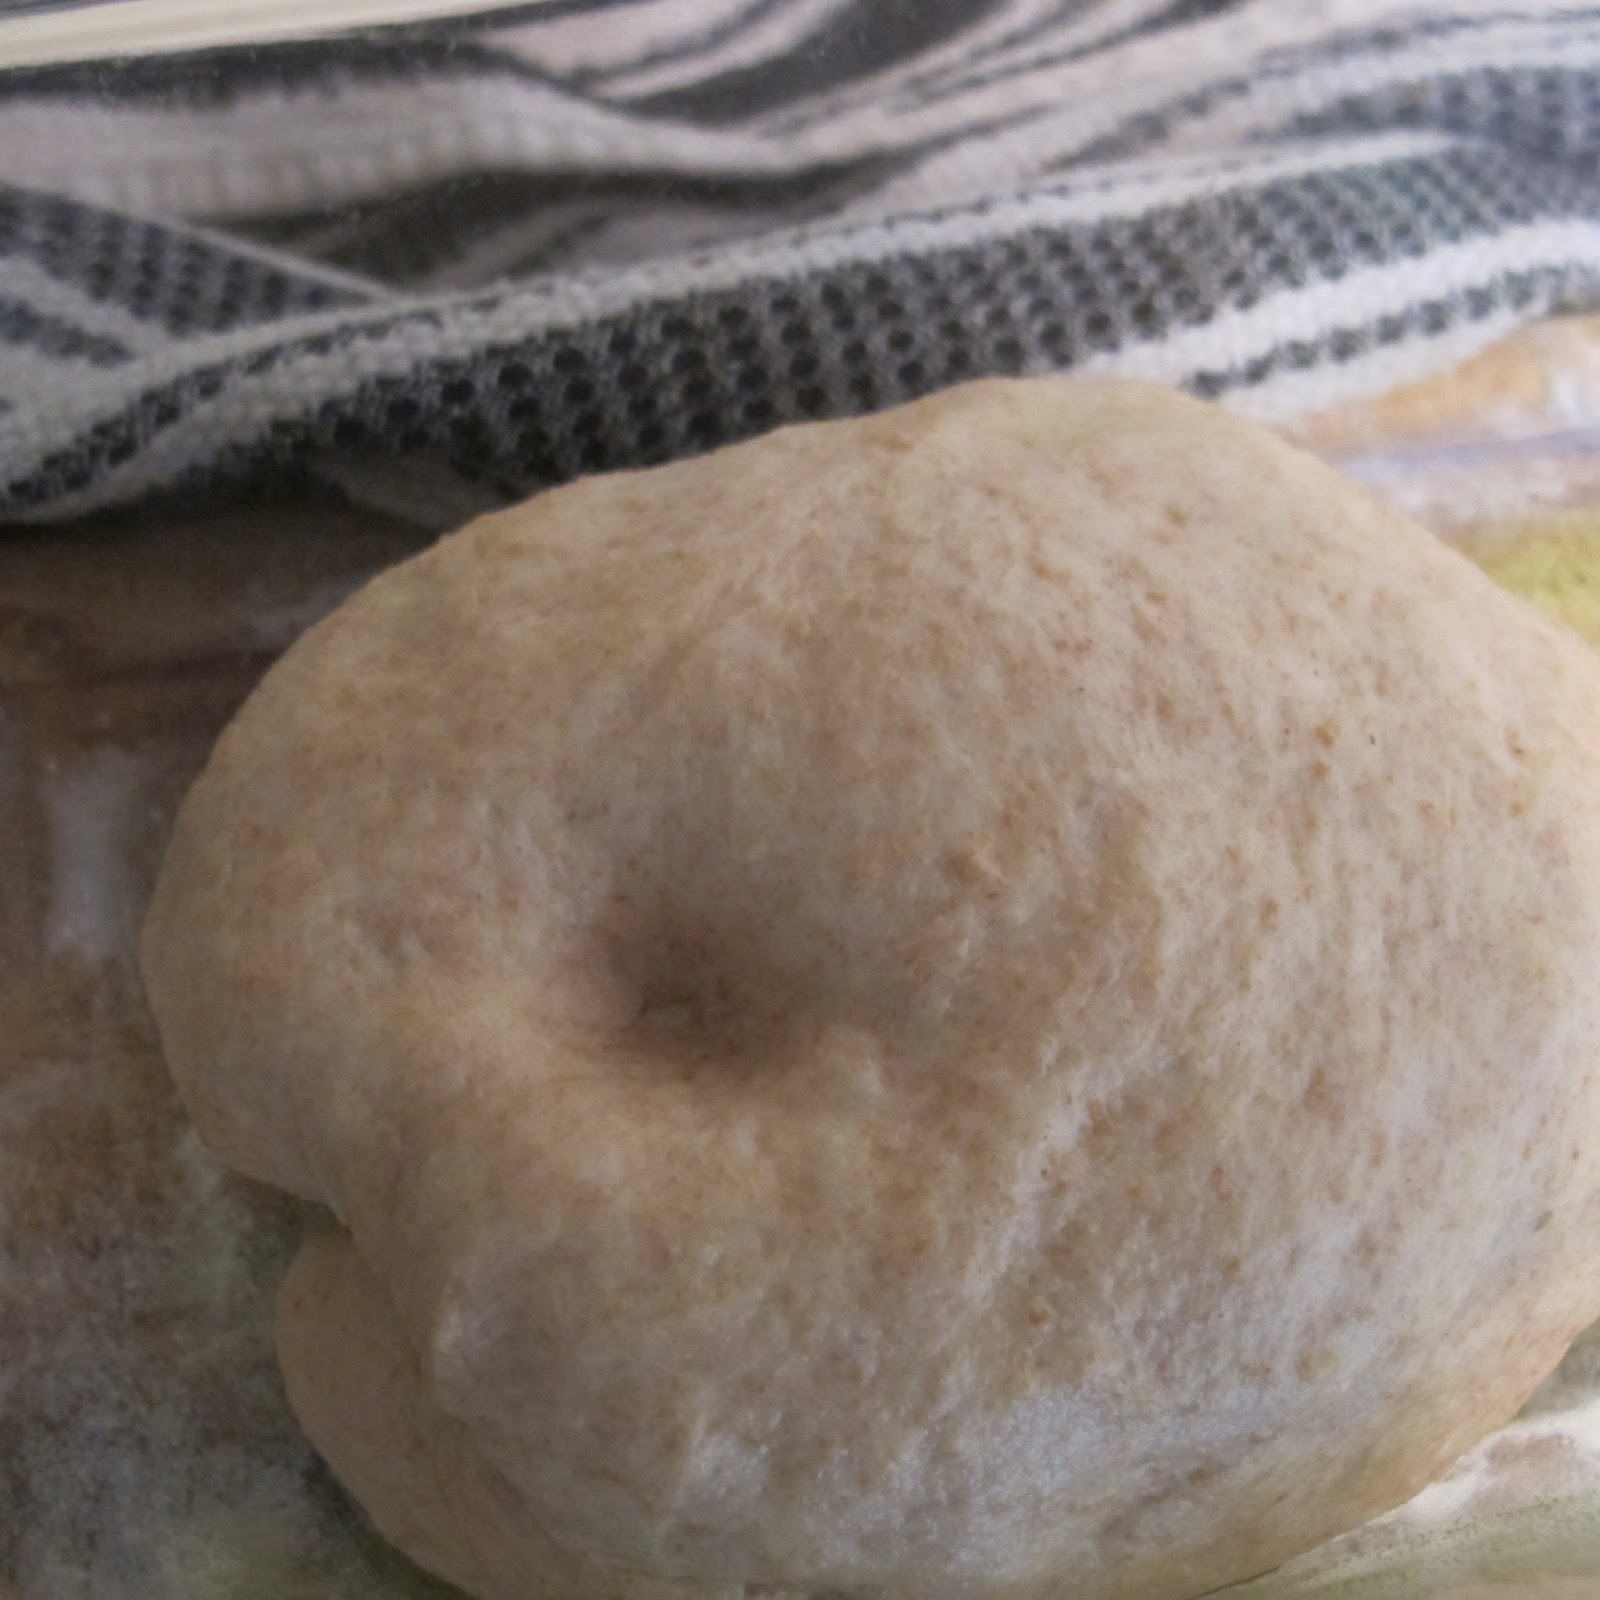

That is it, heat up the oven to 375F and chuck it in.
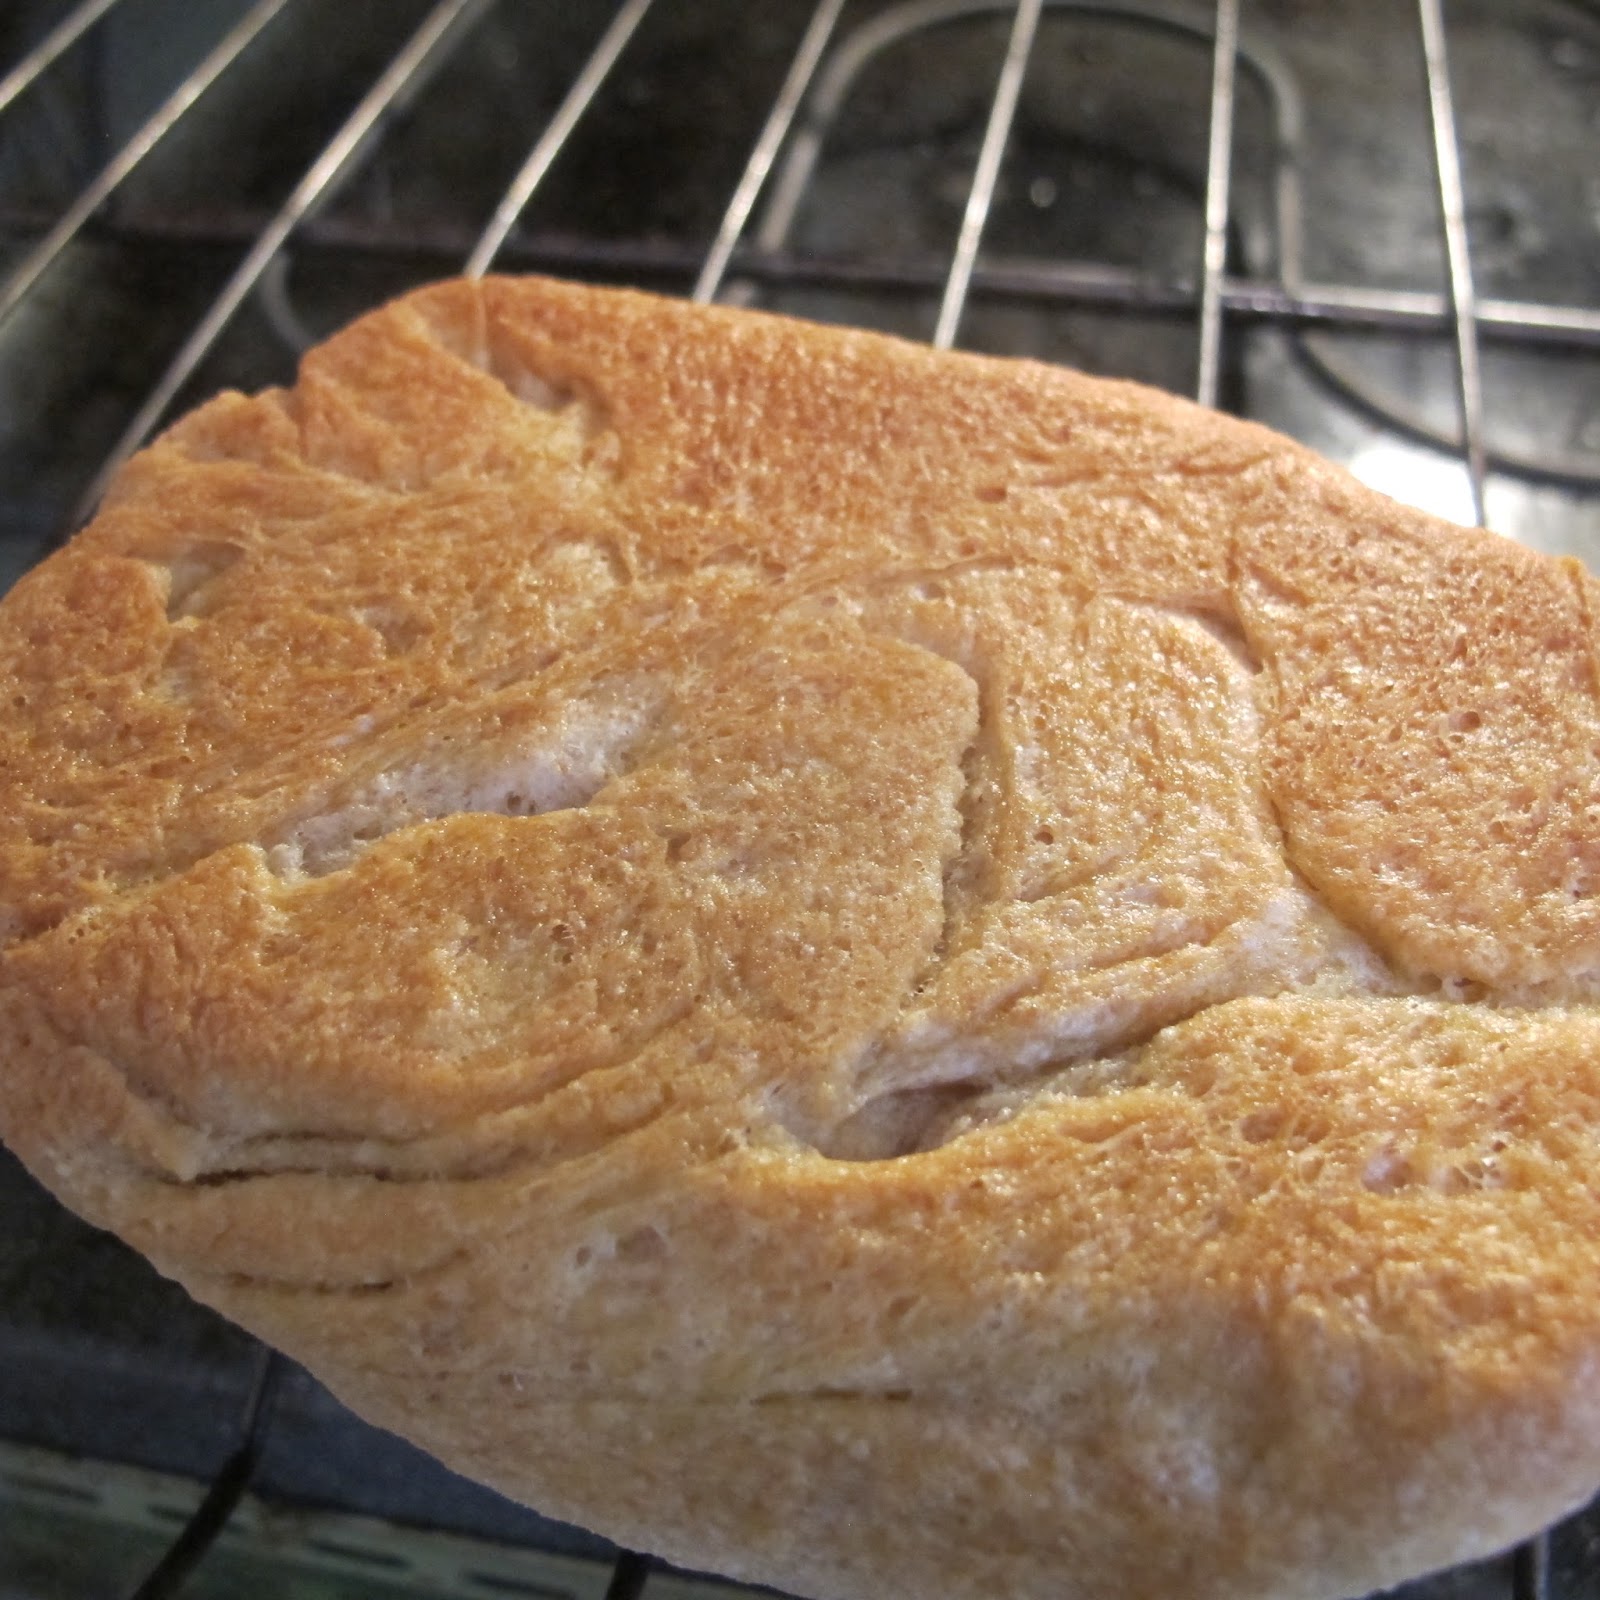

I forgot to take a foto
Anyway after 25 minutes flip the bread from the pan so you can color the other side.
In my case my heat is from the bottom, so this gives the top a deeper color.

Now, how do you know if it needs 20 minutes or 25 minutes or 30 minutes.
Well, once you flipped it you can tap the bread like a drum.
If it make a heavy sound, it is moist and not ready.
The more it dries up in the middle, the better the percussion sound will be and it will sound
more hollow.
You can make the recipe 4 times, one time stop after 20 , drum it for the sound and then open it.
See how the sound tells you if it is ready.
The second time do 25 minutes
the third 30 minutes etc.
This way you learn.

After you think the bread is ready, either take it out and wolf it down
or give it 10 minutes to rest nicely.


Anyway, that's it.
I also made myself some nice cured wild salmon and bought some cowgirl cream cheese.
Notice the bread is slightly dark, that is because I used the whole wheat
which like I said is optional.
Try to use 50% whole wheat and 50% regular flour. Don't try making the whole thing whole
wheat as whole wheat is slow to rise and not as "user" friendly.


Anyway,
Good luck and let me know if you have any questions.


Wednesday, January 30, 2013

Braised Oxtal with Anise Star

Ingredients
1 Oxtail   3 lb or so
1 red onion
3 garlic cloves
2 cups red wine
4  star anise stars
1-2  bay leaves
8 prunes
beef stock if you want I just used water so I would have the Oxtail taste.
2 clementines
Curly parsley for decoration


Delicious.

I bought a whole Oxtail.


Simply chop it to fit the dutch oven pot or what ever you are using.
There are joints between the bones, you can go for those or simply hack with the butcher's axe.
If you must, just ask the butcher to cut it to smaller parts.
I go with less parts so it is easier to debone at the end.

Fry it in 1 tbsp of oil for 8 minutes till you get some nice color.


Alright
After 8 minutes remove it and place it to the side.
Add the chopped onion.

the garlic and a little of the parsley.


cook for 3 minutes till you get a sear.
Then pour in the wine
Add the star anise , the prunes and the bay leaves.


Add water to cover the most of the meat.
Then place in the oven for 3.5 hours at 300 F.

When you are done, you should be able to easily de-bone the meat using a pair of forks.
Remove the bay leaves, the anise stars, chunks of fat and if you have any gristle.

So, the liquid level can be changed by how you like your sauce.

This is the pasta I used, Pappardelle.

I also added the clementine or blood orange, I removed the seeds etc and it was  added then cooked for only 2-3 minutes to keep their partial shape.


Well this is the results, it is a little sweet for meat and delicious.
But don't take my word, try it yourself.


Tuesday, January 29, 2013

Lamb Breast

Lamb Breast.


So let's describe it.
This cut is
Skin
Fat
Meat
Fat
meat
Bone
The fat content on this piece of meat is very high. So take into account you will need to hit the gym
afterwards.

It takes 3 hours or so to cook it and I got it 90% right on the first time.
Here is the link to the video.
http://www.youtube.com/watch?v=NpqrwDZEwqY

It's probably one of the better video explanations I have seen.
Watch and learn.

Enjoy the cut.

Sunday, January 6, 2013

Turkey Kebabs


Turkey Kebabs  

So, you are hungry and want a quick meal.
Love Kebabs and can't stand sausages.
Can't find someone to sell you Kebab skewers.
Well, you hit the right site.

Let's get it on.
I went to the market and met a farmer who grows turkeys. So I bought some ground meat from her. You can get two main types, breast meat, which will be whiter and faster to cook or rich tasty darker meat from the other parts. I went for the darker meat.
About 1 pound for 2 people is a good measure of daily protein.


In general meat, sticks with meat, that sticks with meat. Now when you cook it like a sausage it is not very good. You need something in the middle. It also lowers the cost of the meat. I usually add mint, however it was out of season and they only had some trashy,dead,half rotten samples from Colombia. Since I live in the USA I opted NOT to get that trash and bought some nice curled parsley. Chop it fine, I added half the bouquet.

Same thing with Green onion or scallions
Chop 4-6 stalks.
The goal is to create a spacing between the meat. So it does not need to be very fine.


Add 1 egg, I got some organic, free range, humanely slaughtered ones, they were big and delicious.

Mix in the meat and work it with your hands for 2 minutes.
Notice how it clings to my hands and it will feel watery-ish or slippery

 Ok, so find some bread crumbs and add some to the mix.
The bread crumbs help create a glue-ier or a more glued consistency.
Which will help you to shape the kebab. If you added too much add some oil or water.
I just simply add some little by little till I can shape it.

I got some Kebab Skewers, which are the sticks for shaping kebabs on so you can easily flip them.
However they were too thin and a waste of money. So since the Amriki don't sell proper ones. I simply use my cutlery. For example a knife.

Simply shape the mixture on it and leave yourself a handle or don't, I am tough so I roll my kebabs
with my bare hands, I also eat glass and lift cars with one hand.....

This is the Kebab, put it in the oven on the rack and put something beneath it.
This is turkey so it does not have much fat however a little still falls.
So the base will catch it and keep my oven clean.

The knife in the middle helps for 2 reasons.
1. It helps keep the shape
2. The metal heats faster than the meat so it helps to cook the meat from the inside.

Check it after 10 minutes, every 2 minutes grab a nibble or cut a part open.
What, it's not like I am a Chez 5 star place. So It will be a little messy.


 I added a nice salad of chopped lettuce and chopped cucumber.
The yogurt can be plain or mix some garlic and lemon into it.
You can also tzaziki it which means grind some cucumber into it.


Delicious and takes 20 minutes from start to finish once you know your stuff.
Which is enough time to make rice or Quinoa as a side.
This dish is well worth learning as you can cook it once a week for dinner even if you have a job.
If you want Lamb, simply replace the meat. I alternate between the two to keep my wife's mouth watering at the mention of the word "kebab".

Happy NY.

Thursday, January 3, 2013

Ghana peanut butter soup


Ghanaian peanut butter soup.

So, met this woman and she kept going on an on about her favorite dish. Ghana peanut butter soup.
The food in Ghana is simple. Usually it revolves around something called "fufu".
Fufu from the documentary I saw is made with.

(Foto from treehugger- thanks)

 a root called Cassava.

The root is boiled and pounded into a consistency of a dough.


This is a woman doing that labor, by the looks of it in the documentary it seems to be a workout
and barely worth the calories.
Since I don't have the tools or the inclination to spend two hours pounding something I made Amaranth.


But back to the soup.
The recipe is simple.
1/2 peanut butter - I got mine from whole foods they have a machine that grinds it fresh.
2 pieces of chicken leg - I skinned then de-boned them then de-grisled them then chopped them to bite size
1 potato
10 mushrooms quarters - this is optional I just added mushrooms cause it is winter.
1 hot pepper - I used a Fresno pepper but you can use stronger ones
http://missvickie.com/howto/spices/peppers/peppersdict.html
The above is a link to peppers so you can recognize them.
1/2 cup of cilantro -  I just like adding some green.
2 garlic cloves
2 small onions - I don't go for sweet ones but you can.
1 can of tomatoes- I used chopped so I could have some tomato texture.


The cooking is simple.
Fry the chicken for 5. You can add oil I skipped this as it is new years diet.
Add the chopped onion fry for 3
Add the vegetables you want, just make them small
add the potato, make it small.
I ground the pepper, cilantro, 1/4 onion in a food processor however it died in action so I ended up working
on my fine chopping skills.
Add this concoction too.
Then add the tomatoes and water.
The last part is the peanut butter simply melt it with hot water and add it too.
Adjust the seasoning and leave it for 90 minutes.

Now, some pieces of advice.
Don't touch your eyes after working with hot peppers (I never listen to this one)

So after 90 minutes you should have delicious soup.
In Ghana they eat the soup with the pounded Kassava root that took 2 hours of pounding.


I skipped it and simply made Amaranth.
1 part amaranth to 3 parts water on low heat.

Yum, try it.
I am going to get me another serving.


Saturday, November 10, 2012

Chicken and green olive tagine


Ingredients
4 tbsp olive oil
1 tbsp ground ginger
2 tbsp paprika
pinch cayenne pepper
1 tsp ground turmeric
salt and pepper
8 chicken drumsticks
4 onions roughly chopped
4 garlic cloves
pinch saffron threads
1 in piece of fresh ginger ground and peeled
4 large tomatoes
juice of 1 lemon
2 cups hot vegetable stock
3/4 cup olives pitted
2 lemons preserved
cilantro
parsley

Ok this should easy.
Use the trusted crock pot, I used the dutch oven. However technically you can make this using a regular pot.

Mix the spices and 2 tbsp of olive oil add the chicken pieces and mix. Leave overnight (or 30 minutes if you are staavin).
Fry the pieces oh chicken in the rest of the oil for 8 minutes till nicely browned on all sides.
Remove.
Fry the onions, garlic and ground ginger for 10 minutes on low heat till they are soft.
Then add the tomatoes,lemon juice and the vegetable stock.
Allow this to boil and then add the pieces of chicken.
Move the dutch oven to the oven at 350F and leave it in for 2 hours. You can check and see based on the liquid amount, don't let it dry up.
After the 2 hours add the chopped olives and if you have the chopped preserved lemons. You can then start making rice or couscus. When the rice or couscous is done (20-30 minutes) simply remove from the oven
and scoop the carb on the plate and then place the chicken on it, then decorate with the cilantro or parsely chopped finely.

Should be easy and tastes fresh if you have nice olives and fresh herbs.

The quantity above can last you for 2 days if you are a New Yorker ;)

Have a nice weekend....

Friday, August 17, 2012

Colcannon and short rib


Colcannon with a side of Short Ribs.


 Alright, get some corn, its cheap get the fresh kind you have to peel and raze with your knife to get off. Quickly sear it in the frying pan. I had a dirty on that was left from me being lazy yesterday so even better :).
 Get some taters and boil them, the mash kind should take 10-20 minutes.


I forgot to add, buy a nice short rib put it in the oven with some salt and pepper, i'd say 250-200 3 hours.
check on it every once in a while by sticking in your fork and feeling the texture.


Alright, Kale. I got this off wholefoods, you can feel the freshness. You can go for any kale I got the green kind. The light green there is also black kale etc.  Simply chop it and drop it in boiling water for 2-3 minutes to break the structure and take the bitterness out .


 Alright, mix all together and then add the fat from the short rib. The Irish will use butter I think butter is "boring"!!!!!!!  so I add fat from the meat.
Mash it all up into a nice puree
Meat

Colcannon

 Now you tell me.
How can you go wrong ????